
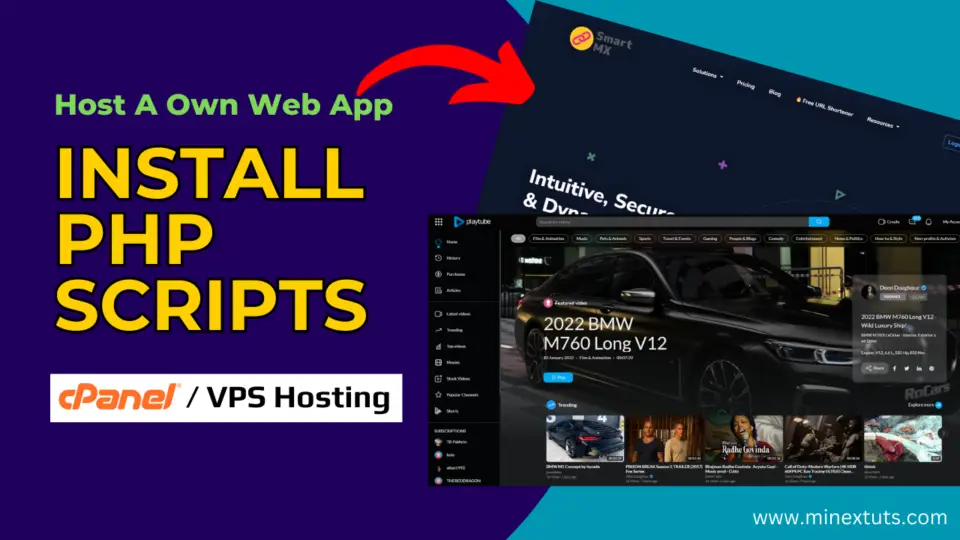
Hey everyone! Welcome back. In this tutorial, I’m going to show you how to easily install PHP scripts in cPanel or on a VPS. Installing PHP web scripts allows you to host any type of customized website or web app, such as SaaS applications.
Whether you want to install a forum, URL shortener, video hosting site, CMS like WordPress, or shopping cart, this process makes it super simple. So let’s get started!
Step 1: Download the PHP Web Script
Before we get started, you’ll need to find and download the PHP script you want to install. There are many free PHP scripts out there, or you can purchase premium PHP scripts from marketplaces like CodeCanyon.
For this tutorial, I’ll be using a SaaS web script I purchased, but the process is the same for any script.
Make sure to download the ZIP file which contains all the necessary files. I’ll include some recommendations for PHP script marketplaces.
Step 2: Accessing cPanel or VPS Hosting

If you have cPanel hosting, you can login directly to cPanel to install the PHP script. For VPS hosting without cPanel, you’ll first need to install a control panel like cPanel or a free cPanel alternative.
I have a separate tutorial on how to install HestiaCP on a VPS if you need it. In this video, I’ll be showing the installation process using the Hestia control panel on a VPS, but it works the same way in regular cPanel as well.
Once you have access to your control panel, login with your provided credentials. Here you’ll see all the features and options for managing your hosting account where we’ll install the PHP script.

Step 3: Upload the PHP Script
Next, we need to upload the PHP script files to the server. The easiest way is using FTP. Go to the File Manager section in cPanel or your control panel.

In the Hestia panel, you can go to File by clicking this icon. Here you have to navigate to the “public_html” folder where your publicly accessible files are hosted.
Then upload the PHP script ZIP folder to the public_html folder on your server. All the PHP files, images, CSS, and other files should be inside this ZIP folder.

After you upload it to the server, extract the ZIP file. Make sure all the contents are extracted to the public_html folder; otherwise, you have to move those files to the public_html folder.
Ok, you have extracted all the files here, Now you can enter this website by using your domain.
Step 4: Run the Installer & Create a Database
it’s time to run the script installer. Simply go to your domain in your browser. This will launch the installation wizard. Enter required details, set an admin user and password, and complete any other steps.

Many PHP scripts require a database to store and access data. Let’s see how to create a database inside your cPanel or other control panel.
Go back to your control panel and go to the Database Section. Under the Databases section in cPanel, create a new MySQL database for your script.

Make note of the database name, user and password as we’ll need this to complete the installation process.
After that, go to the installation wizard and enter your database credentials here. After it finishes, your script should be installed and ready to use!

Installing PHP scripts in cPanel or on a VPS is quick and easy following these steps. Just upload the files, create the database, run the installer, and set the right permissions.
Now you can start using cool new scripts on your site.

Thanks for watching and be sure to subscribe for more web development tutorials! If you have any issues with this tutorial, add a question on the MineX tech forum.


Leave a comment