
Windows Subsystem for Linux (WSL) allows you to install and run Linux distributions directly within Windows. This provides a powerful bridge between the Microsoft and Linux worlds without dual booting or virtual machines.
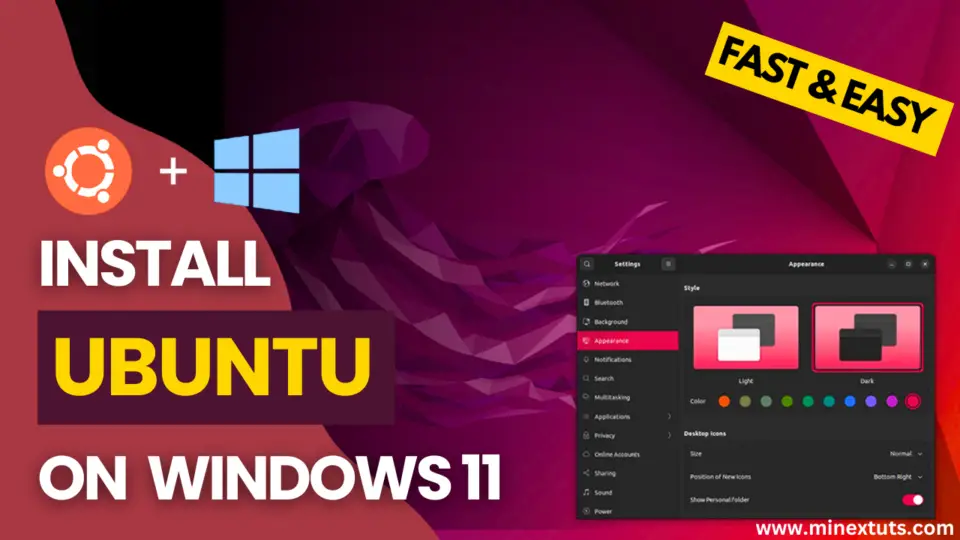
In this video, I’m going to show you how to install Ubuntu, the popular Linux distribution, on Windows 11 using the Windows Subsystem for Linux.
We’ll go step-by-step through enabling key features in Windows, getting WSL set up, downloading the latest Ubuntu image from the Microsoft Store, initializing it and creating your default Ubuntu user account.
What is Windows Subsystem for Linux?
Windows Subsystem for Linux (WSL) is a compatibility layer developed by Microsoft for running Linux binary executables natively on Windows. Essentially it translates Linux system calls so that Linux apps and tools can run directly within your Windows environment.
WSL has been greatly improved in recent versions of Windows 10 and Windows 11 to provide a very complete Linux environment all within Windows, without needing dual boot or virtual machines.
Why Install Linux with WSL?
 | Step-by-Step | Linux Tutorial 1")
There are many advantages to accessing Linux tools and apps from within Windows using WSL:
- Use bash, Linux commands and terminal utilities
- Run Linux apps and programming languages side-by-side with Windows
- Develop/test Linux-based apps or websites on Windows
- Switch between Windows and Linux environments
- Access Linux while still leveraging key Windows tools
- Eliminates need to dual boot or spin up virtual machines
So for developers, programmers, IT pros, and power users, having Linux available in WSL unlocks many new possibilities without juggling multiple machines.
Requirements
Before we begin, you’ll want to make sure you’re running the latest version of Windows 11. WSL is only supported in Windows 11 and Windows 10 version 2004 and higher.
Before installing Ubuntu via WSL, verify these requirements:
- Windows 11 or Windows 10 Version 2004 and higher
- Dual-core processor
- 4GB RAM
- 10GB free disk space
Meeting these requirements will deliver optimal performance. Upgrading any lower specs is recommended.
Enable Windows Features
You’ll also need to enable a few optional features in Windows before installing WSL. Don’t worry – I’ll walk you through that process.
The first things we need to enable are the Windows Subsystem for Linux itself and the Virtual Machine Platform.
In your Windows search bar, type “Turn Windows features on and off”. In this list find the Windows sub-system for Linux and Virtual machine platform, then turn on these two features.
 | Step-by-Step | Linux Tutorial 2")
This will enable the necessary features and components. You’ll likely need to restart your machine afterwards before continuing.
Enable the “Windows Subsystem for Linux” and “Virtual Machine Platform” optional features in Windows:
- Open Control Panel -> Programs -> Turn Windows Features on or off
- Check “Windows Subsystem for Linux”
- Check “Virtual Machine Platform”
- Click OK and restart computer
Install WSL from Microsoft Store
 | Step-by-Step | Linux Tutorial 3")
Open the Microsoft Store and search for “Windows subsystem for Linux” and click install. This will take some time to install on your machine.
It gives a Linux base to install any kind of Linux distribution on your Windows 11 machine.
Install Ubuntu Linux Distribution
Now we’re ready to install our Linux distribution that we’ll use with WSL – in this case It is the Ubuntu OS.
Next search for “Ubuntu”. Select the latest version published by Canonical or Ubuntu. In this case, I am going to install Ubuntu 22.04 LTS.
 | Step-by-Step | Linux Tutorial 4")
This will download and install Ubuntu which takes several minutes depending on internet speed.
Install Ubuntu Linux distribution from the Microsoft Store:
- Open Microsoft Store
- Search “Ubuntu”
- Select latest version published by Canonical
- Click Install
Once it finishes installing, the Ubuntu tile will be pinned to the Start Menu and we can launch it there. Or you can simply click the “open” button on the Microsoft store.
Initialize Ubuntu and Create User
With Ubuntu installed from the Microsoft Store, launch it from the Start Menu.
The first time opening Ubuntu will initialize the Linux file system. You’ll then be prompted to create a default username and password. This will be your main account to access Ubuntu from WSL.
 | Step-by-Step | Linux Tutorial 5")
Simply choose a username and password just like you would for an account on Ubuntu or any Linux distribution.
This will be the account that you first access when opening an Ubuntu terminal or shell through WSL.
Using Ubuntu via WSL Terminal
After creation of your Linux user credentials, you can start leveraging the Linux terminal just as if you were on a Ubuntu desktop.
Open the Ubuntu app from the Start menu to launch an Ubuntu terminal window right within Windows. You can now:
- Install/run Linux apps
- Use bash, execute Linux commands
- Develop/test Linux-based projects
- And many other possibilities!
Almost anything you can do from an Ubuntu terminal on a Linux desktop can now be done directly from within Windows thanks to WSL.
GUI Options: Ubuntu
The standard WSL implementation is primarily focused on command line usage of Linux from the terminal window.
However, there are some options for adding Linux GUI apps within Windows:
- X Server Software – Third party X servers like Xming can enable displaying Linux GUI apps from WSL.
- Alternative Distros – Distributions like Kali Linux have custom WSL builds to better support Linux GUIs.
It is difficult to setup a Graphic user interface for Ubuntu. But you can install Kali Linux with a GUI. Check below video for the step-by-step process to get Kali Linux with GUI on Windows 11.
So while Ubuntu is ideal for Linux terminal and command line usage via WSL, other distros (Kali Linux) are better optimized for Linux GUIs on Windows.
Wrapping Up
Installing Ubuntu on Windows 11 with WSL provides an excellent bridge to unlock Linux tools and capabilities without dual booting or virtualization.
The Windows and Linux worlds can now combine forces to enable new development possibilities right from your Windows desktop.
Let us know in the forum if you have any other questions about using Linux distributions with WSL!


Leave a comment