
Live streaming pre-recorded videos can be a great way to provide engaging content to your viewers. However, streaming to multiple platforms simultaneously often requires expensive third-party services.
In this post, I’ll walk you through how to set up your own Linux-based streaming server using open-source software called Datarhei Restreamer.
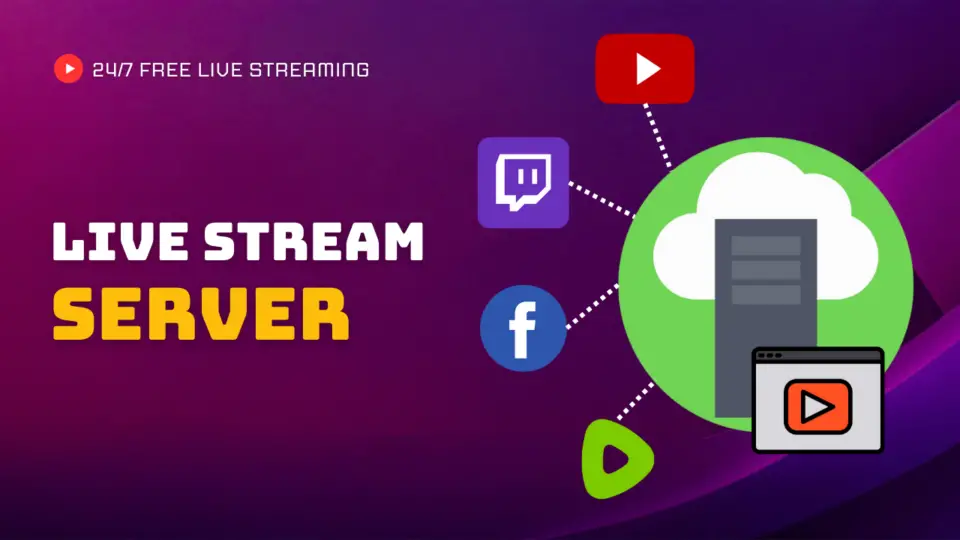
This will allow you to broadcast a live stream to multiple platforms like YouTube, Facebook, and more all at once. Also, you can live stream pre-recorded videos and loop video clips and audio.
Benefits of Streaming Pre-Recorded Videos
Here are some of the main benefits of live streaming pre-recorded videos:
- Saves time: You can batch record videos without having to go live each time. Just set up the stream once to deliver content on a schedule.
- Reusable content: Stream your evergreen videos like tutorials or demos on a loop to maximize value.
- More professional: Prevent live stream fails with pre-made, high-quality videos.
- Simulate live content: Viewers feel like they’re watching a live event with a scheduled video stream.
- Expand reach: Stream to more platforms than you can handle live for wider distribution.
Step 1: Set Up a Linux Server to Host the Streaming Software
First, you need a Linux VPS (Virtual Private Server) to install the Restreamer software on. Some good Linux distros to use are Ubuntu, Debian, CentOS, etc. I recommend that you choose Ubuntu.

You can choose any server provider you like or follow the below link to find a cheap VPS provider.
The server only needs minimum specs like 1-2 GB RAM and 1-2 CPU cores to handle Restreamer. Storage space depends on your video library size.
Once you have a Linux VPS ready, SSH into it to access the command line terminal for installing and configuring software.
Install Docker and Pull Restreamer Container
1. Get root access using this command:
sudo -i2. Update system packages:
sudo apt update && sudo apt upgrade -y3. Install Docker with this command:
sudo apt-get update && sudo apt-get install -y docker.io4. Give your user access to Docker:
sudo usermod -aG docker $USER5. Install Datarhei Restreamer Docker container:
docker run -d --restart=always --name restreamer \
-v /opt/restreamer/config:/core/config \
-v /opt/restreamer/data:/core/data \
-p 8080:8080 -p 8181:8181 \
-p 1935:1935 -p 1936:1936 \
-p 6000:6000/udp \
datarhei/restreamer:latest
The above will pull the Restreamer Docker image and run it in detached mode on port 8080. Ok, we finished the server-side installation process.

Step 2: Configure Restreamer GUI
With Restreamer installed, open a web browser and go to your server’s IP on port 8080 to access the admin console.
http://device-ip:8080/uiWhen you go to the Restreamer for the first time, you’ll be prompted to create an admin login. It provides a default username and password; you can use them or change them into your credentials.

Click “Video Setup” to proceed to configurations. You have several options to choose from. Click “Advanced Setup” to access more options.
Set Up Video Source

Under Video Setup, you have a few options to add your video source:
- Network Source: Enter a publicly accessible URL to your video file (live stream a pre-recorded video or connect OBS output)
- Hardware Device: Connect an RTMP compatible camera or device (To connect a hardware device like an IP camera)
- Loop Media: Select a file to play on repeat (setup 24/7 live streaming on multiple platforms. It will loop any video or audio file infinitely until you stop the live stream.)
Step 3: Live Stream Pre-recorded Video
Now we’re ready to start a live stream with this open-source platform. I am going to setup live streaming using a pre-recorded video on multiple platforms as an example.

For prerecorded videos, use the Network Source type and provide your video URL from cloud storage like Google Drive or Dropbox. You can use our Google Drive direct link generator tool.

When you click the “Probe” button, it will check the source URL. In the next step, you can add a different audio source for the video. If you want to keep the original audio source of the video, don’t change anything here.
Add Streaming Platform Destinations

Now live streaming has started on the Restreamer server side. You need to add your streaming keys from YouTube, Facebook Live, and any other platforms you want to stream to all at once.
Click the + button to add platforms like YouTube, Facebook, Twitch, etc.
For each one, provide the server URL and stream name/key to authorize live streaming access. I am going to select Rumble and Twitch in this example.

Now when you start the stream, your video will broadcast out live to multiple sites simultaneously in real time!
Why Use Datarhei Restreamer for VOD Streaming?

Compared to other solutions, open-source Restreamer provides these notable advantages:
- Self-hosted: Avoid monthly fees. One-time server costs only.
- Open source: Free to install. Modify as needed.
- Lightweight: Low system requirements to operate.
- Reliable: Built specifically for streaming VOD and live content.
- Scalable: Stream to unlimited destinations.
- Flexible: Works with most video and streaming platforms.
- Automatable: Easy to configure scheduled, automated streams.
So if you want to save money while efficiently broadcasting your pre-recorded videos to maximize reach, Restreamer is an excellent option worth checking out!
Final Thoughts on Streaming Pre-Recorded Videos
As you can see, by utilizing an open-source streaming server like Datarhei Restreamer, you can easily simulate live video content and efficiently distribute videos on demand to many platforms at once.
I hope this post gave you a good overview of how to set up your own Linux streaming server to broadcast prerecorded footage to services like YouTube, Facebook, Twitch, and more simultaneously.
If you have any issues with this tutorial, open a question on the Minex tech forum. Thank you for watching. I’ll see you in the next video!


Leave a comment