Today in this tutorial, you will learn how to export layers from adobe photoshop. You can use these layers to generate an unlimited NFT collection. Also, you will know how to calculate the number of NFTs you can get from your layers.
Create NFT Layers for Auto Generate
Usually, when you export an image from photoshop, all the layers will fuse. You can not separate them from one another. To generate an NFT collection, you should have NFT layers like in our previous video.
First, you have to create your NFT layers with variations. The bottom layer is the background after that base image. On top of the base image, you can have other layers with different styles and variations.
The number of NFTs you can generate using NFT generators depends on the number of layers you created.
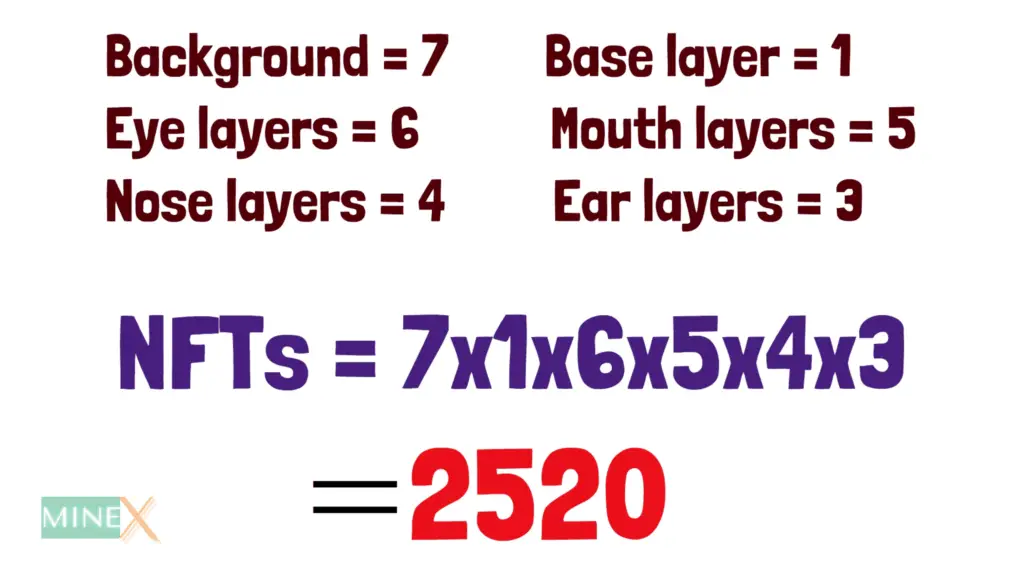
For example, let’s assume you have 7 background layers, 1 base layer, 6 different eye layers, 5 mouths, 4 noses, and 3 ears. Then you can calculate the NFT number like this. So you can generate up to 2520 NFTs. (NFTs Number = 7*1*6*5*4*3 = 2520)
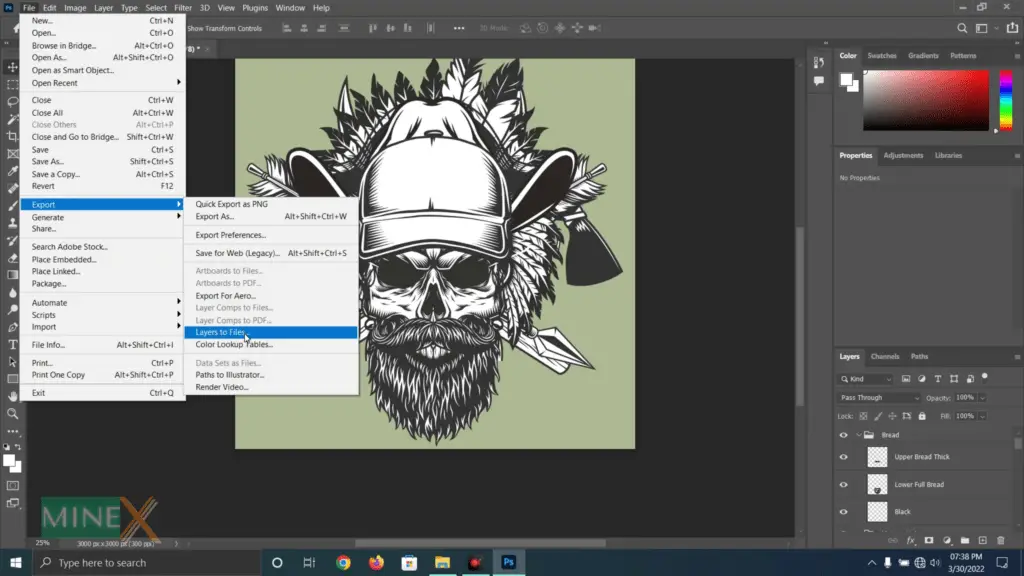
Before exporting the layers, ensure visibility is “On” for all the layers. Now click “File” and navigate to the “Export” menu. Then select the “Layers to files”(File > Export > Layers to files). A new popup window will open.
Make sure you choose the correct path to save these layers and other settings. Tick mark “Transparency” and select PNG as the file format. After all, click the “Run” button to start the process. Photoshop takes some time to export all the layers.
After that, you can categorize and rename the layers manually before adding them to the NFT generator. If you still have not read the free NFT generator article, read it now.



Leave a comment