
One of the most critical aspects of managing a containerized infrastructure is having a user-friendly graphical interface.
In this video, we’ll discuss the best web GUI for Docker and Kubernetes and how you can install and use it to deploy Docker containers. it made Docker easy to use and maintain.
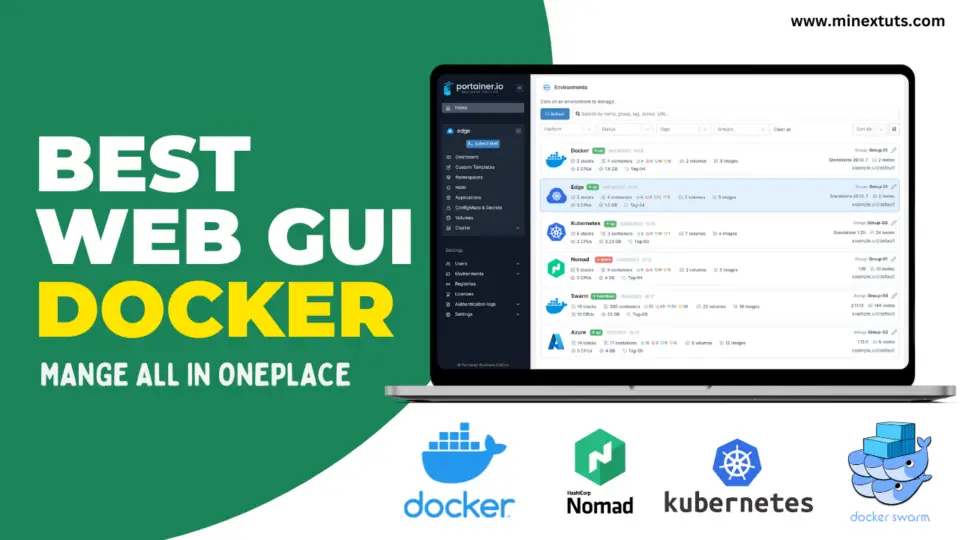
Why is it the Best Web GUI for Docker and Kubernetes?
This web GUI is called Portainer, a well-organized system to manage containers in;
- Docker,
- Swarm,
- Nomad, and
- Kubernetes.

It simplifies your Docker container handling and ensures security. You no longer need to use the terminal; this can create, delete, and modify files in a user-friendly graphical interface.
In this video, we will show you step-by-step how to install this great container management web interface. Also, you can use this platform to deploy Docker containers very quickly.
Setup Virtual Private Server (VPS)
The first thing you need is a VPS to set up this application. You are free to choose any provider. Check out our below link if you want to get a cheap VPS.
After configuring your virtual private server with your provider, you must connect to the server terminal using any SSH client. You can use these free SSH clients;
Install Docker Latest Version (Auto Script)
I am already connected to the terminal through the SSH connection. You have to install the latest version of Docker on your Linux machine before installing the Portainer.

Docker supports Ubuntu, Debian, and Fedora distributions of Linux OS. As a result, you should have configured your VPS server to run on these operating systems.
For this tutorial, we’ll be using an Ubuntu 20.04 LTS system. To install the Docker engine on Ubuntu, we’ll use the Docker auto script.
First, download the script using this command:
curl -fsSL https://get.docker.com -o get-docker.shNext, execute the script using this command:
sudo sh get-docker.shHow to Install and Set up Portainer on a Virtual Private Server
Now the Docker engine is installed on your server. We can install the Potainer on this machine. Create the volume for the Portainer Server to store its database using the following command.
docker volume create portainer_dataAfterward, download and install the Portainer Server container:
docker run -d -p 8000:8000 -p 9443:9443 --name portainer --restart=always -v /var/run/docker.sock:/var/run/docker.sock -v portainer_data:/data portainer/portainer-ce:latestWait a few seconds for the installation to complete.

Open Firewall Rules on your Server
You have to open ports 8080, 9000, and 9443 on your server’s firewall section. This process may be different depending on the server provider, but you can use similar steps.
Go to the firewall section of your VPS; this is usually in the security section of the server. In the firewall section, you have to add a new firewall rule to open those ports.

You have to enter this IP parameter as the source:
0.0.0.0/0This will allow all IP ranges to connect through these ports. The IP protocol should be TCP. Enter all the necessary ports in the destination ports section.
In this case, I’m opening the one port (9443) that needs to connect to the web GUI.
Using Portainer to Easily Create, Delete, and Modify Docker Containers
After that, you can enter this IP address to connect to the Portainer web GUI:
https://ipaddress:9443When you go to this web interface for the first time, you will see this warning message. Just click the “Advanced” option to proceed.
You will see this screen the first time you log in if the Portainer was successfully installed on your server. You can set a username and password for logging in.

After you log in to the dashboard for the first time, you will see these two options to select.
You can maintain a local environment on this server where your Portainer is installed, or you can add Docker containers running on a different server, which means a remote server.
Those remote containers can be managed via the Portainer web interface without having to connect to that server.

Ok, here we are going to run local containers, so select the “Get started” button with the big whale icon.
You can see Portainer running as a container under the environment. If you want to run containers like Swarm, Nomad, and Kubernetes, switch to the environment tab.
Ok, let’s go to our local server and select the local environment on the home page. Here you can create;
- Containers,
- Volumes for data storage,
- Networks for containers, and also
- Images.
You can manage all of the aspects of Docker containers on this platform.

Quickly Deploy Docker Containers with Portainer
Next, see how you can deploy containers using this web interface. Navigate to the “Container” section of the left menu bar. All the running containers will be displayed here.
To add the new container, click the “add container” button. You can directly search for the Docker containers in the Docker hub and pull them onto this server.
I am going to install Kali Linux’s latest version on this server. Search for it on Docker Hub and copy the Docker pull command. Please copy and paste it into the image text box, then delete the front part of the command.

- Before launch, name your container; it should be typed without spaces.
- You can manually set the host port and the container port here, or you can leave it to select a port automatically.
- You can also specify the advanced settings before deploying the container. For this example, I’m leaving the advanced settings alone.
After all the configuration, click the “Deploy the Container” button. It will deploy the container on Portainer.
The best feature is that you can enter the container terminal through this web interface without an SSH connection. On Portainer, you can find your Kali Linux server.
You can deploy as many as you want and manage them easily through this user-friendly interface.
Conclusion: Portainer
In conclusion, Portainer is an essential tool for anyone looking to simplify the process of managing Docker and Kubernetes containers. With a user-friendly interface and powerful features, Portainer makes it easy to create, delete, and modify Docker containers and ensures security.

The platform also allows you to quickly deploy Docker containers, streamlining your container management workflow. If you’re tired of using the terminal to handle your containers, give Portainer a try. You’ll wonder how you ever managed your containers without it!
FAQ: Best Web GUI for Docker
What is Portainer?
Portainer is a user-friendly graphical interface for managing Docker and Kubernetes containers. It simplifies the process of handling containers and ensures security, making it the best web GUI for these platforms. With Portainer, you can easily create, delete, and modify Docker containers without having to use the terminal.
Is Portainer free to use?
Yes, Portainer is free to use for personal and commercial use. However, the company does offer paid support and training services for users who need additional assistance.
Steps to install and set up Portainer on a virtual private server?
To install and set up Portainer on a virtual private server, you’ll need to follow these steps:
- Connect to your server terminal using an SSH client.
- Install the latest version of Docker on your Linux machine.
- Create a volume for the Portainer Server to store its database.
- Download and install the Portainer Server container.
- Open ports 8080, 9000, and 9443 on your server’s firewall.
- Connect to the Portainer web GUI using the IP address of your server.
- Set a username and password for logging in to the Portainer dashboard.
Can I use Portainer to deploy Docker containers on a remote server?
Yes, you can use Portainer to manage Docker containers on a remote server as well as on the server where Portainer is installed. Simply select the “Remote environment” option when adding a new endpoint in the Portainer dashboard.
Is Portainer only available for Docker and Kubernetes?
No, Portainer is also compatible with Swarm and Nomad container platforms. Simply select the appropriate environment when adding a new endpoint in the Portainer dashboard.
Can I use Portainer on a Windows or Mac machine?
Yes, you can use Portainer on a Windows or Mac machine by installing it as a standalone application or as a Docker container. Please note that some features may not be available on these platforms.


Leave a comment